| Download the PDF User Guide | ||
|
|
||
You may print your entire album, including journaling boxes. You have several different options when printing to your local printer. You can print a single image, multiple images, photo packages, and contact sheets.
To print your album, perform the following steps:
1. Click File > Print.
2. Select Print again.
Note: You may see a low pixel warning.
![]() This means that your image has a low dots-per-inch count and therefore may not print well. You can change this by changing the size you are printing. For instance, you may want to choose to print a 3 x 5 image instead of a 5 x 7. You will make this adjustment in the Layout section of the Print on local printer dialog box.
This means that your image has a low dots-per-inch count and therefore may not print well. You can change this by changing the size you are printing. For instance, you may want to choose to print a 3 x 5 image instead of a 5 x 7. You will make this adjustment in the Layout section of the Print on local printer dialog box.
3. The Print Local dialog displays. The printer drop-down list shows a selection of available printers. Select your printer from the list.

4. If necessary, modify the settings by clicking the Printer Properties link. An options box specific to your printer will appear. (For more information on these options, refer to your printer documentation.)
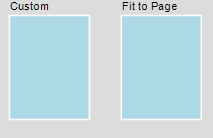
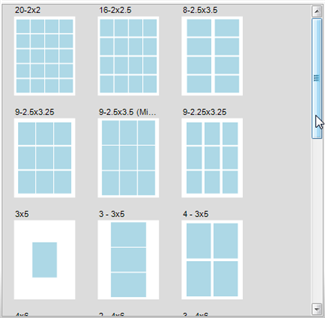
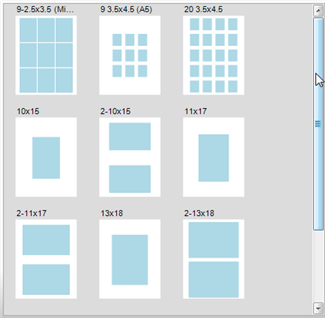
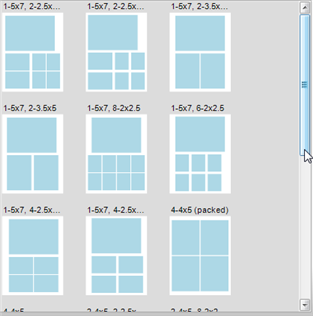
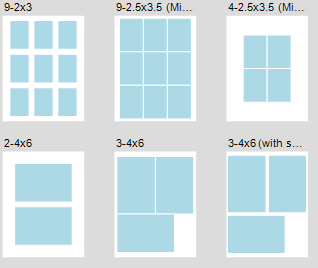
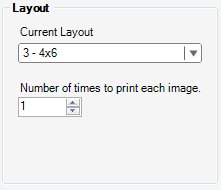
5. Review the current layout in the preview pane. If you prefer a different layout, click the drop-down arrow.
6. Click the Print Layout option that best fits your needs. You will be returned to the Print on local printer window. The preview pane displays your new layout.
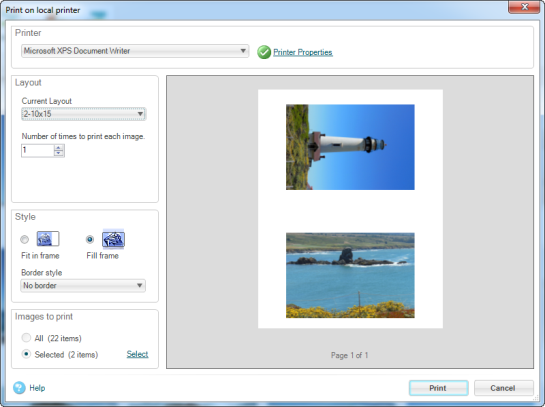
7. Choose the number of times to print each image.
Note:Layout will vary. If you have chosen a layout that accommodates more than one image per page, Historian will print multiple copies of your image on the page. If you have chosen a layout that accommodates only one image per page and wish to have multiple copies of your image, Historian will send multiple pages to the printer.
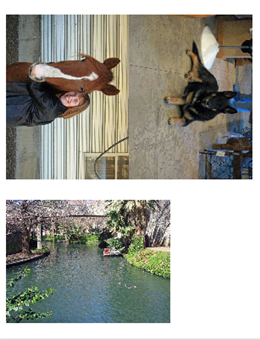
8. Choose the appropriate cropping option for your images. Cropping adjusts the centering and white space around the image.
|
Fit in Frame Crop |
|
Fill Frame Crop |
|
|
|
|
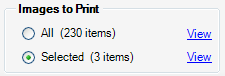
9. In the Images to Print section, choose the appropriate option:
10. Click Print to send your image to your selected printer.
| © 2005-2013 Panstoria, Inc. |
|
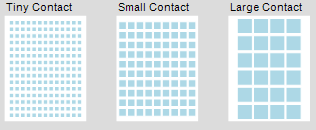
 Learn about different print layouts, including photo packages and contact sheets.